Installation
1.CodeVista for JetBrains
CodeVista for VS Code Installation Guide
1. Install CodeVista IDE Extension
-
Find the the latest version of the CodeVista (FPT Internal) extension from JetBrains.
Marketplace: https://plugins.jetbrains.com/plugin/24575-codevista-ai-coding-assistant-fpt-internal-
-
Alternatively, if you can also search for CodeVista ****extension directly in JetBrains. Only use one instance CodeVista: AI Coding Assistant(FPT internal) or CodeVista: AI Coding Assistant. Do not use both of these instance at once, it would be bugs occur.
There are two version of CodeVista on VS Code extension marketplace:
CodeVista: AI Coding Assistant(FPT Internal): This is the version managed by FSoft Internal IT team. If you are a developers of a project line managed by FSoft, you should use this version.
CodeVista: AI Coding Assistant: This is the version managed by AIC team. If you are a FSoft developers not bound to any project policy requirements, you should use this version.
Only use one instance CodeVista: AI Coding Assistant(FPT internal) or CodeVista: AI Coding Assistant. Do not use both of these instance at once, it would be bugs occur.
2. Enable CodeVista Extension
-
After installation, the CodeVista extension should be enabled automatically.
-
If not, you can enable it manually by clicking the "Reload" button in the Extensions view.
After installing the extension, the side activity bar will display an icon for CodeVista. Click this icon, and ****CodeVista's ****panel will open. This interface is used to start a Chat, run CodeVista ****commands or get access to relevant resources.
-
Log in
Click on "Login with Microsoft" and follow the instructions to log in with your @fpt.com account.
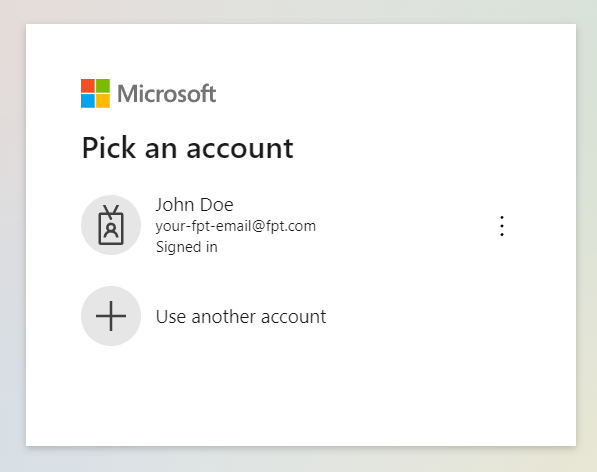
Image: Log in
-
Grant Permissions (if prompted)
- Depending on your system configuration, you may be prompted to grant certain permissions to the ****CodeVista extension.
- Review the requested permissions and grant them if you're comfortable doing so.
-
Start Using CodeVista
- After logging in, you can start interacting with CodeVista by typing your coding questions or tasks in the prompt input box.
- Explore the various features and functionalities of CodeVista by following the instructions in the User Guide.
Note: If you encounter any issues during the installation or have any questions, please reach out to the AIC support team for assistance at codevista-support@fpt.com.
2.CodeVista for VS Code
CodeVista for VS Code Installation Guide
1. Install CodeVista IDE Extension
-
Get the latest version of the CodeVista extension ****from the Visual Studio Code Marketplace: https://marketplace.visualstudio.com/items?itemName=AIC.codeVista
-
Alternatively, if you can also search for CodeVista ****extension directly in Visual Studio Code.
There are two version of CodeVista on VS Code extension marketplace:
CodeVista: This is the version managed by FSoft Internal IT team. If you are a developers of a project line managed by FSoft, you should use this version.
CodeVista – AI Coding Assistant: This is the version managed by AIC team. If you are a FSoft developers not bound to any project policy requirements, you should use this version.
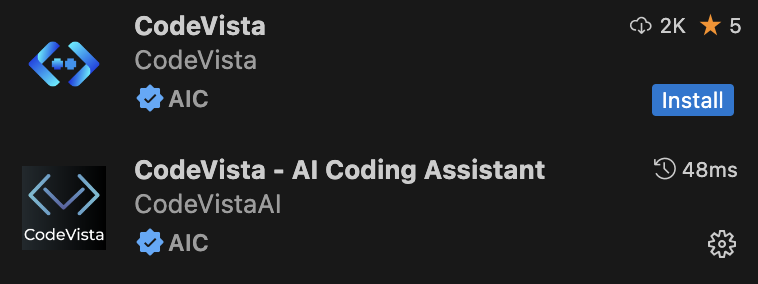
Image: Coding Assistant
2. Enable CodeVista Extension
-
After installation, the CodeVista extension should be enabled automatically.
-
If not, you can enable it manually by clicking the "Reload" button in the Extensions view.
After installing the extension, the side activity bar will display an icon for CodeVista. Click this icon, and ****CodeVista's ****panel will open. This interface is used to start a Chat, run CodeVista ****commands or get access to relevant resources.
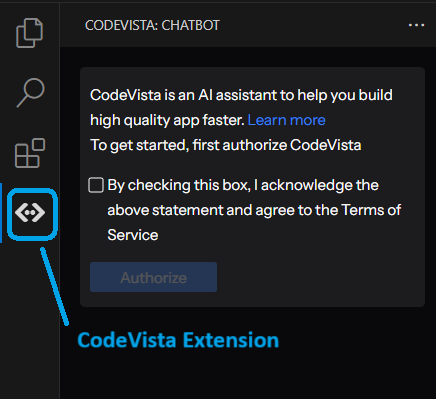
Image: CodeVist VS Code Extension
-
Log in
Click on "Login with Microsoft" and follow the instructions to log in with your @fpt.com account.
Image: Log in
-
Grant Permissions (if prompted)
- Depending on your system configuration, you may be prompted to grant certain permissions to the ****CodeVista extension.
- Review the requested permissions and grant them if you're comfortable doing so.
-
Start Using CodeVista
-
After logging in, you can start interacting with CodeVista by typing your coding questions or tasks in the prompt input box.
-
Explore the various features and functionalities of CodeVista by following the instructions in the User Guide.
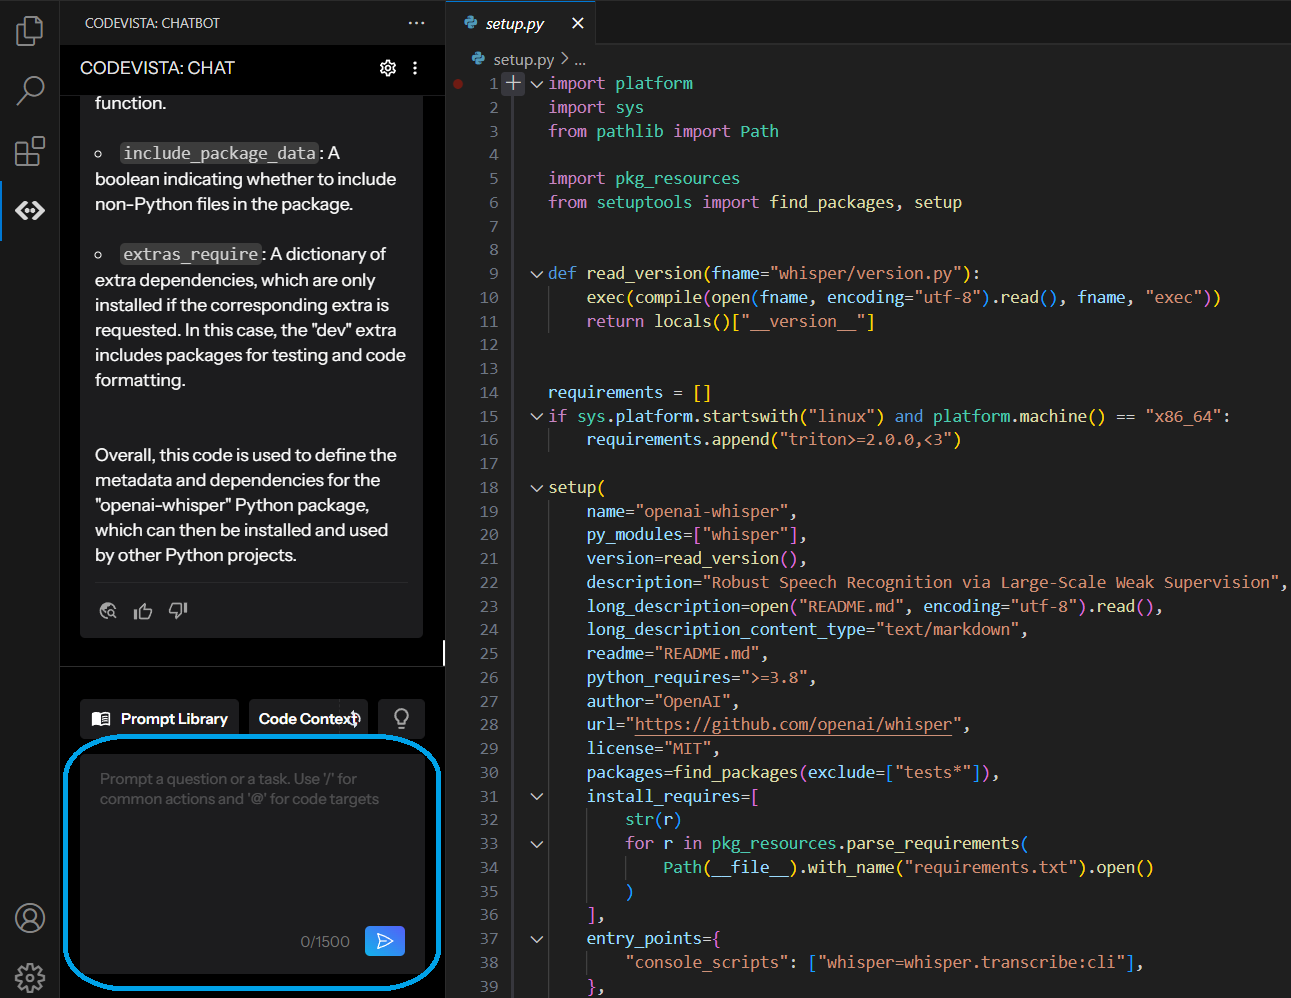
Image: Using CodeVista
-
Note: If you encounter any issues during the installation or have any questions, please reach out to the AIC support team for assistance at [email protected]